It may just be me but I think that standing out can sometimes be a great thing. Don't we all try to stand out even just a little? As artists, we certainly need to stand out in a sea of "the same".
Sadly, sometimes being the one to stand out makes others uncomfortable. They either don't understand something that's not the "norm", or they don't want to compete with something that's going to certainly take the attention away from them.

I bring this up because I feel that the "standing out" is a problem that I've been dealing with for quite a long time with the small town local arts groups. The area I live in is heavy with traditional artists working in all the traditional mediums. I however, do not. I work with paper, creating
Torn Paper Paintings. I've worked hard at branding myself and getting my work out there.
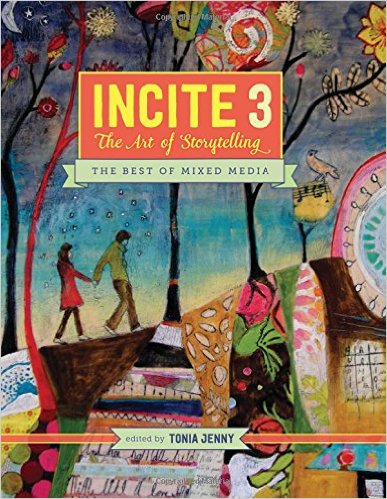
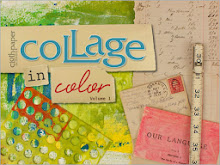
I've been published in
books &
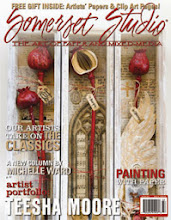
magazines, had images licensed for
greeting cards, been part of corporate collections, and included in numerous jury shows.
I've also taught workshops on my process and am an artist member at a
co-op gallery. Clearly, I know what I'm doing.
Why then do I get excluded and rejected many times over from these small juried art group shows?? I've even had to argue with the ones working on the shows as to what my medium is. Really? I kept getting told that I'd need to list it as "mixed medium", which it is not. It would be created entirely out of torn paper, and yet "torn paper" seemed to be a foreign concept.
Just this week I dropped off a piece of work for another jury show (you'd think I'd know better). Of course all the other paintings that had been dropped off by that time were all of a very traditional feel, both in medium and style. Mine of course was not only in my torn paper medium, but of a whimsical style. When my piece was placed beside the other paintings my thought was, "Wow, looks outstanding". The theme of this show was "Blooms". Flowers just seem to lend themselves to some whimsy, or so I thought.
Within 24 hrs. I'd found out I'd been rejected yet again.
Normally I'd get past this faster, but it turns out that during that 24 hr. period I also broke my leg.
The rejection simply added to my bruised and battered emotional state.
Now, after a bit of time to reflect on this, I'm simply convinced that my piece would have gotten more attention than those traditional painters were able to accept. That one "unusual" piece might actually "stand out". YES!
I've done well and been accepted by many. If the small local groups can't find it in themselves to be supportive, so be it.
I will not let myself be one of "the same".
I will continue to happily Stand Out.